
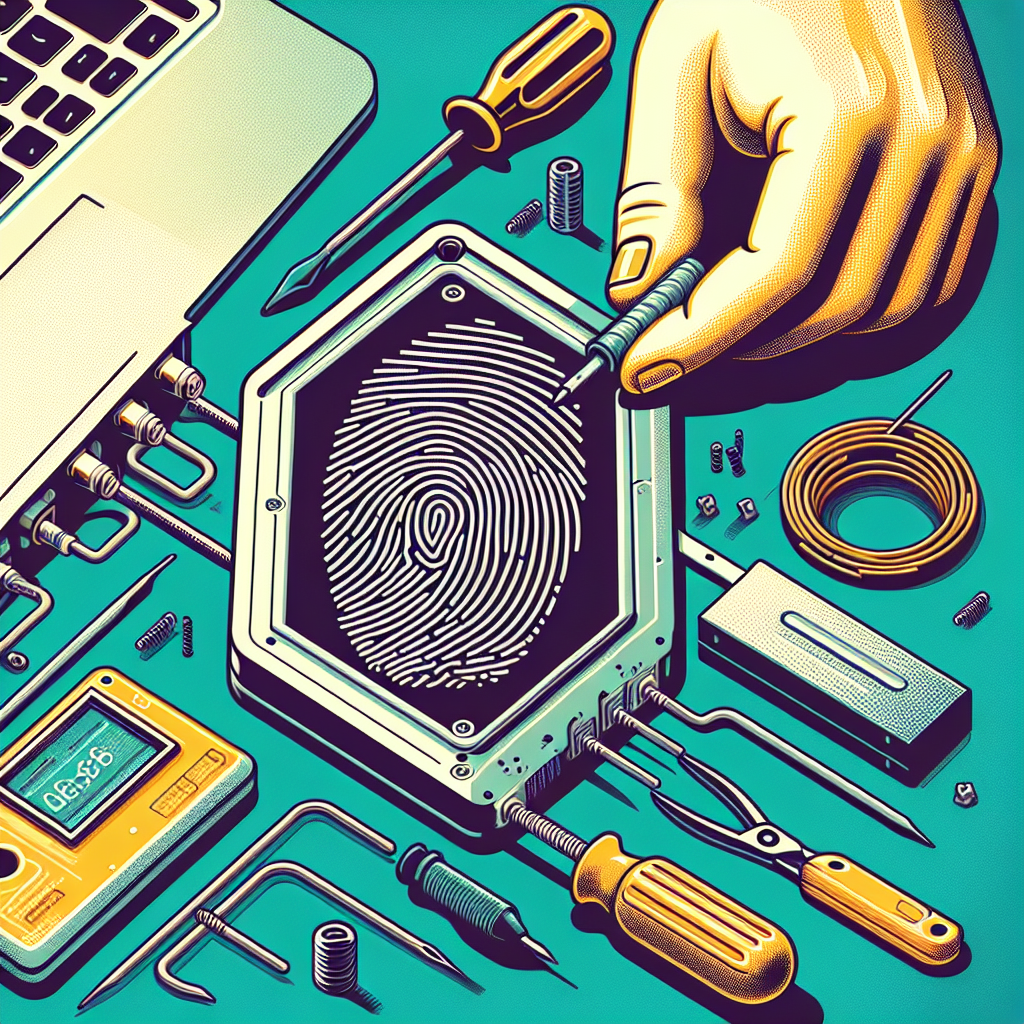
Fingerprint readers have become an essential part of our daily digital lives, providing both security and convenience. Whether you want to secure your computer or access specific files, installing a fingerprint reader can significantly enhance your security measures. This article will walk you through the steps on how to install a fingerprint reader, ensuring a seamless setup process.
Types of Fingerprint Readers
Before diving into the installation process, it is important to understand the different types of fingerprint readers available in the market. Here’s a comparison for you:
| Type | Description |
|---|---|
| Optical Readers | These use light to capture an image of the fingerprint. |
| Capacitive Readers | They use electrical current to form an image of the fingerprint pattern. |
| Ultrasonic Readers | These utilize ultrasonic sound waves to create a detailed image of the fingerprint. |
| Thermal Readers | These detect the temperature differences on your finger ridges and valleys. |
Pre-installation Checklist
Before you begin the installation, ensure you have completed the following checklist:
- Choose a suitable fingerprint reader that is compatible with your device.
- Ensure that your operating system supports the fingerprint reader.
- Download the necessary drivers and software from the manufacturer’s website.
- Have a backup of your data.
Step-by-step Installation Guide
Step 1: Connect the Fingerprint Reader
Plug the fingerprint reader into an available USB port on your device. Ensure that it is securely connected.
Step 2: Install the Driver
Most fingerprint readers come with a driver CD or an option to download from the manufacturer’s website. Follow the instructions to install the driver.
- Insert the CD or download the driver software.
- Run the installation file and follow the on-screen instructions.
- Restart your computer if prompted.
Step 3: Configure the Fingerprint Reader
Once the driver is installed, configure the fingerprint reader through your computer’s settings.
- Go to Settings > Accounts > Sign-in options.
- Click on Fingerprint and follow the setup wizard to register your fingerprint.
- Touch the fingerprint reader multiple times as directed, ensuring it captures all parts of your fingerprint.
Troubleshooting Common Issues
If you encounter any issues with your fingerprint reader, here are some common troubleshooting steps:
Issue 1: Fingerprint Reader Not Recognized
- Ensure that the USB port is functioning properly by connecting another device.
- Reinstall the driver and restart your computer.
- Check for updates in the device manager.
Issue 2: Fingerprint Not Detected
- Ensure your finger is clean and dry before scanning.
- Re-register your fingerprint through the settings.
- Check if there are any firmware updates available for your fingerprint reader.
Maintaining Your Fingerprint Reader
For the optimal performance of your fingerprint reader, regular maintenance is crucial.
- Clean the sensor regularly with a dry, lint-free cloth.
- Avoid using chemicals to clean the sensor.
- Ensure your hands are clean and free from dirt or oils before using the reader.
Benefits of Using a Fingerprint Reader
There are several advantages to using a fingerprint reader:
- Enhanced Security: Provides a higher level of security compared to traditional passwords.
- Convenience: Faster and more convenient than typing passwords.
- Access Control: Restrict access to specific files or applications.
Conclusion
Installing a fingerprint reader is a straightforward process that greatly enhances your digital security. By following the steps outlined in this guide, you can easily set up, configure, and troubleshoot your fingerprint reader. Enjoy the convenience and security that comes with biometric authentication!