
Introduction
Installing a network adapter can seem daunting, especially for those who are not familiar with computer hardware. However, with the right tools and a step-by-step approach, the process can be straightforward and manageable. This article aims to provide comprehensive guidance on the tools you need to install a network adapter and an easy guide to follow.
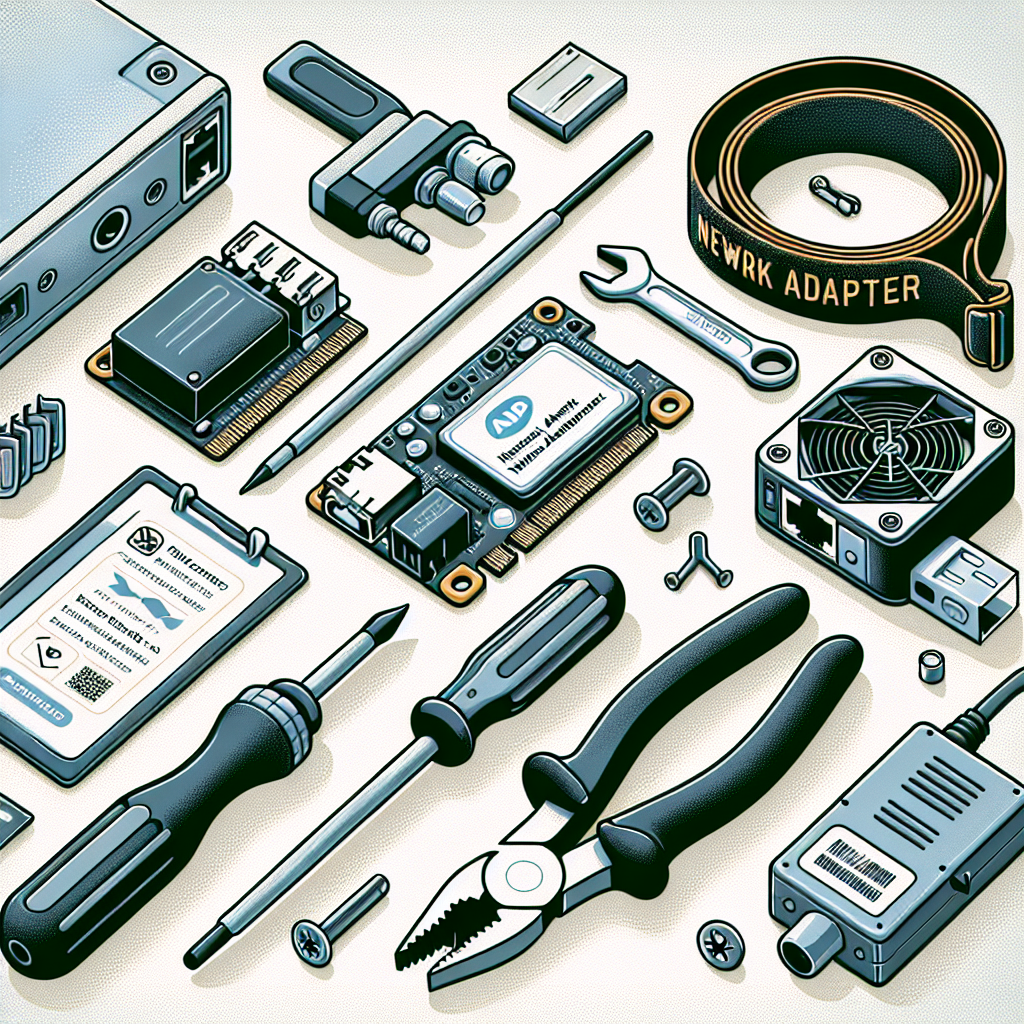
Essential Tools for Installing a Network Adapter
Before getting started, it is crucial to gather all necessary tools. Below is a list of the essential tools needed:
| Tool | Description |
|---|---|
| Phillips Head Screwdriver | Used to open the computer case and secure the network adapter inside. |
| Anti-Static Wrist Strap | Prevents static electricity from damaging sensitive computer components. |
| Flat-Head Screwdriver | May be needed for prying open certain types of computer cases or removing blanks from PCI slots. |
| Needle-Nose Pliers | Useful for handling small screws or components. |
| Compressed Air Can | Helps to clean dust from the computer case and components. |
| Network Adapter | The actual hardware to be installed, either wireless or wired. |
| Network Cable (for wired setup) | Used to connect the network adapter to the router or modem. |
Step-by-Step Guide to Installing a Network Adapter
With all the necessary tools at your disposal, follow these steps to install your network adapter:
1. Prepare Your Workspace
- Ensure you have a clean, well-lit workspace.
- Collect all your tools and components before starting.
2. Power Down and Unplug Your Computer
- Shut down your computer properly and unplug all cables, including the power cord.
3. Open the Computer Case
- Use the Phillips head screwdriver to remove the screws securing the computer’s side panel.
- Take off the side panel to access the internal components.
4. Ground Yourself
- Wear the anti-static wrist strap to avoid damaging components with static electricity.
5. Identify the Suitable Slot
- Locate an available PCI or PCIe slot on the motherboard where the network adapter will be installed.
6. Install the Network Adapter
- Remove the slot cover if necessary, using the flat-head screwdriver.
- Insert the network adapter into the slot, aligning it correctly, and then firmly seat it in place.
- Use a screw to secure the network adapter to the case.
7. Close the Computer Case
- Replace the side panel and secure it with screws.
8. Reconnect and Power On
- Reconnect all cables and power up the computer.
9. Install Network Adapter Drivers
- Once the computer is powered on, the operating system may automatically detect the new hardware.
- If needed, install the drivers provided with the network adapter using the installation CD or downloaded drivers from the manufacturer’s website.
Troubleshooting Tips
If you encounter issues during or after the installation, consider the following troubleshooting tips:
- Ensure that the network adapter is properly seated in the slot.
- Verify that all drivers are correctly installed and up to date.
- Check your network settings and configurations.
- Consult the network adapter’s manual for additional instructions or support.
Conclusion
Installing a network adapter is a task that can be accomplished with some basic tools and a clear set of instructions. By preparing your workspace, gathering necessary tools, and following these steps, you can successfully install a network adapter to improve your computer’s connectivity. Whether for personal use or for a small office setup, understanding how to install a network adapter is a valuable skill that contributes to a seamless computing experience.