
Installing a network adapter in a slim desktop can greatly enhance its networking capabilities, allowing for faster and more reliable internet connections. Whether you are a tech enthusiast or a regular user, this guide will help you fully understand the process. Let’s walk through the necessary steps and tips for a successful installation.
Tools and Materials Needed
| Tool/Material | Description |
|---|---|
| Network Adapter | Choose between a PCIe or USB network adapter based on your desktop’s available slots and needs. |
| Phillips Screwdriver | Essential for opening the desktop case. |
| Antistatic Wrist Strap | Prevents damage to components due to static electricity. |
| Installation Guide | Instruction manual provided with the network adapter. |
Step-by-Step Installation Process
Step 1: Prepare Your Workspace
- Power Down: Ensure your desktop is turned off and unplugged from any power source.
- Work Area: Choose a clean, well-lit space to work on your installation.
- Static Safety: Wear an antistatic wrist strap to avoid static electricity damage to your computer components.
Step 2: Open the Desktop Case
Most slim desktops have a side panel secured by screws. Use a Phillips screwdriver to remove these screws and carefully take off the side panel. Set the screws aside in a safe place.
Step 3: Locate an Available Slot
Identify an open PCIe or USB slot inside your desktop. PCIe slots are typically located near the bottom of the motherboard. USB slots might be on the front or back of the desktop. Ensure your chosen network adapter type matches the slot available.
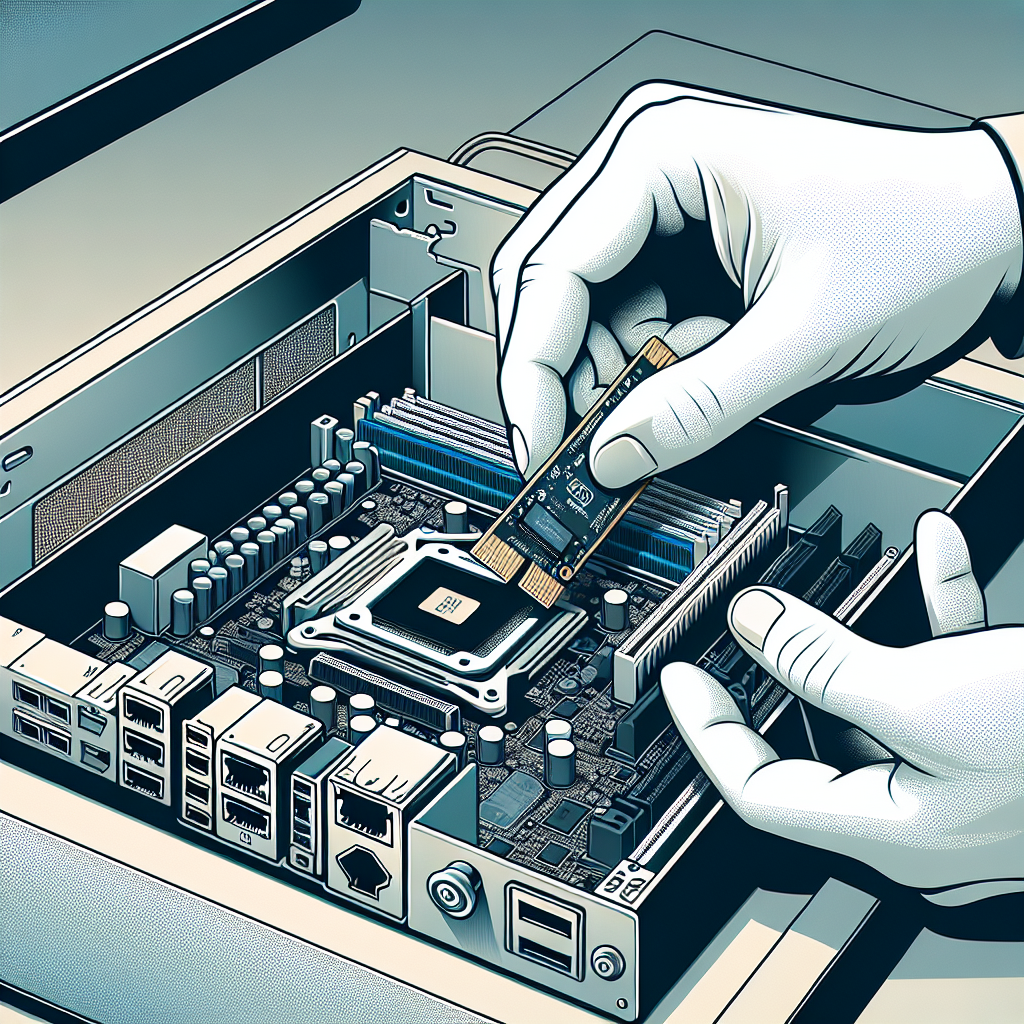
Step 4: Insert the Network Adapter
- PCIe Network Adapter:
- Slide the adapter into the PCIe slot and press firmly until it is fully seated.
- Secure the adapter with a screw if necessary to keep it in place.
- USB Network Adapter:
- Plug the adapter into an available USB port. No additional securing step is needed for USB adapters.
Step 5: Reassemble the Desktop
- Replace the side panel you removed earlier and secure it with screws.
- Ensure all components are properly connected and secured inside the case.
Step 6: Connect and Test the Network Adapter
- Power On: Plug in and power up your desktop.
- Install Drivers: Use the installation guide provided with your network adapter to install the necessary drivers. This often involves using a CD, USB drive, or downloading from the manufacturer’s website.
- Configure Network Settings: Once the drivers are installed, configure your network settings through your operating system to ensure your new adapter is working correctly.
Troubleshooting Tips
Here are some common issues and solutions you might encounter:
Driver Issues
If your network adapter isn’t detected, it might be due to outdated or incompatible drivers. Ensure you have the latest drivers from the manufacturer’s website.
Hardware Conflicts
Sometimes other hardware components may conflict with your network adapter. Check your device manager for any conflicts and resolve them by updating or reinstalling drivers.
Connectivity Problems
Ensure your network settings are properly configured and that your router or modem is functioning correctly. Restarting your network devices can sometimes resolve connectivity issues.
Performance Issues
If you experience slow speeds, check for interference from other devices or update the firmware of your router and network adapter. Ensure optimal placement of your desktop for the best signal reception.
Conclusion
Installing a network adapter in a slim desktop is a straightforward process that can significantly improve your internet connectivity. By following the steps outlined in this guide and taking necessary precautions, you can ensure a smooth and successful installation. If you encounter any issues, consult the troubleshooting tips and refer to your network adapter’s installation guide for further assistance.