
Removing a flash drive from your Windows 10 computer may seem like a simple task, but doing it incorrectly can potentially harm your data. This comprehensive guide will demonstrate the correct steps to ensure your data remains safe and your device operates efficiently.
Why Properly Ejecting a Flash Drive is Important
Before diving into the steps, it’s crucial to understand why it’s important to properly eject your flash drive:
- Data Integrity: Improper removal can lead to data corruption, rendering files unusable.
- Device Longevity: Correct ejection procedures extend the life of your flash drive.
- System Stability: Ensuring all processes are completed can maintain the overall stability of your system.
| Risks | Consequences |
|---|---|
| Data Corruption | Files may become unreadable |
| Hardware Damage | Flash drive lifespan can shorten |
| System Errors | Potential freezing and crashing of the OS |
Steps to Remove a Flash Drive Safely
Step 1: Save Your Work
Before removing the flash drive, ensure that all active files are saved. Unsaved work can be lost if the flash drive is removed abruptly.
Step 2: Close Open Applications
Close any applications that are using files from the flash drive. This can include documents, media files, or executable programs.
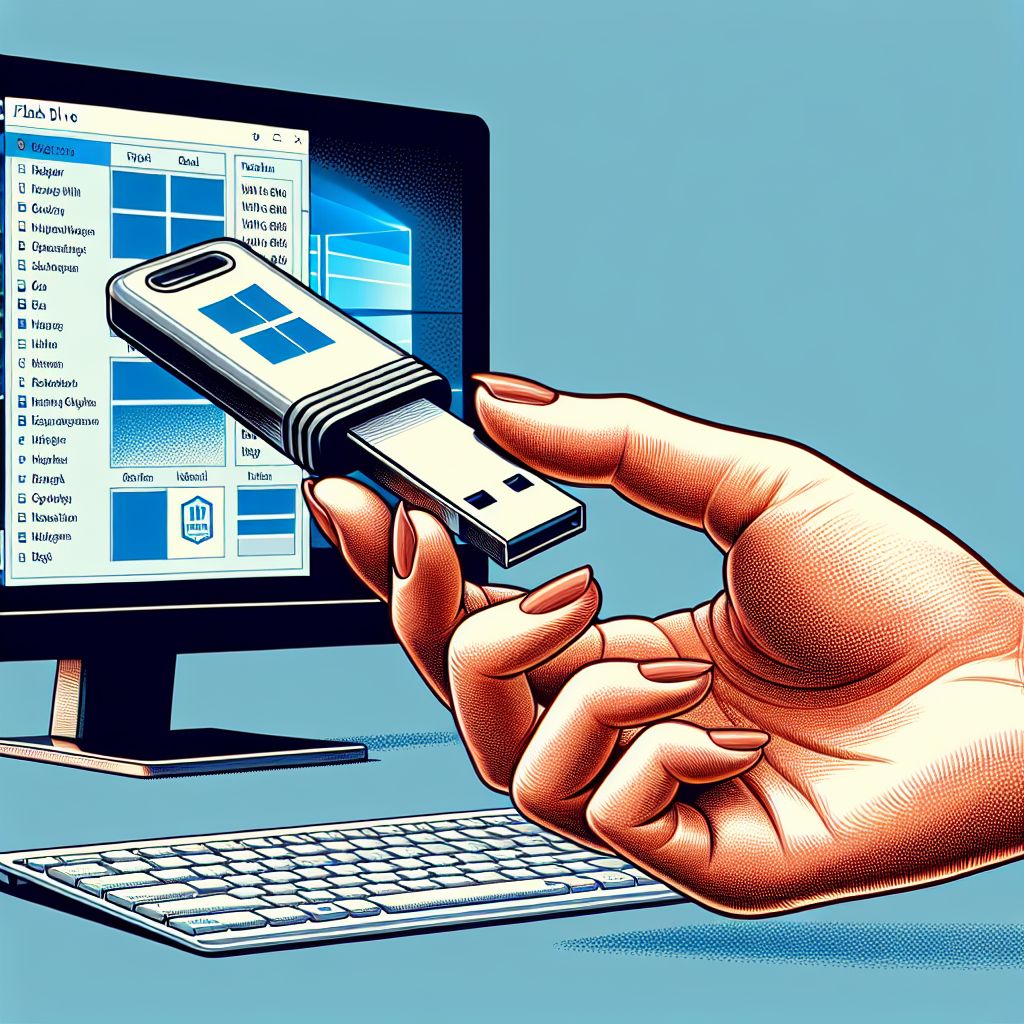
Step 3: Use the ‘Safely Remove Hardware’ Option
To use the ‘Safely Remove Hardware’ feature, follow these steps:
- Locate the ‘Safely Remove Hardware and Eject Media’ icon in the system tray at the bottom-right corner of your screen. It looks like a USB connector with a checkmark.
- Click on the icon to reveal a list of connected removable storage devices.
- Select your flash drive from the list. You will see a message saying, ‘Safe to Remove Hardware.’
Once you see the ‘Safe to Remove Hardware’ message, you can safely unplug your flash drive from the USB port.
Step 4: Manually Eject via File Explorer
As an alternative, you can manually eject the flash drive via File Explorer:
- Open File Explorer and navigate to ‘This PC.’
- Right-click on your flash drive under the ‘Devices and Drives’ section.
- Select ‘Eject’ from the context menu.
- Wait for the confirmation message indicating that it is safe to remove the hardware.
Step 5: Ensure Data Transfer is Complete
It’s vital to ensure all data transfers are complete before ejecting the flash drive. Data transfer LEDs on most USB flash drives will stop blinking once the process is finished.
Troubleshooting Common Issues
Issue 1: ‘In Use’ Message When Trying to Eject
If you receive a message indicating that the flash drive is in use, follow these steps:
- Check for any background applications that might be utilizing files on the flash drive and close them.
- Try again after waiting for a few moments or use Task Manager to close any stubborn applications.
Issue 2: Flash Drive Not Recognized by Eject Menu
If your flash drive doesn’t appear in the ‘Safely Remove Hardware’ menu:
- Verify that it is properly inserted into the USB port.
- Update your USB drivers through Device Manager.
- Restart your computer and try again.
Issue 3: Files Not Showing Up
If files on your flash drive are not appearing:
- Ensure the file system is not corrupted by running a scan using Windows Error Checking tool.
- Try connecting the flash drive to a different computer.
Best Practices
Adhering to these best practices can further ensure the longevity and reliability of your flash drive:
- Regular Backups: Regularly back up important data to another storage media.
- Keep Software Updated: Ensure your OS and drivers are up-to-date to avoid compatibility issues.
- Safeguard Physically: Avoid physically damaging the flash drive by handling it carefully.
Conclusion
Properly removing a flash drive from your Windows 10 computer is vital to maintaining data integrity and device longevity. Following these steps can help ensure a seamless and safe ejection process. By adhering to these guidelines, you can avoid common pitfalls and ensure your flash drive remains in good working condition.