
Introduction:
Uploading photos from your camera to your computer is a simple and necessary task for any photographer, whether professional or amateur. It allows you to organize and edit your photos on a larger screen and make backups for safekeeping. In this article, we will guide you through the process of uploading photos from your camera to your computer, step by step.
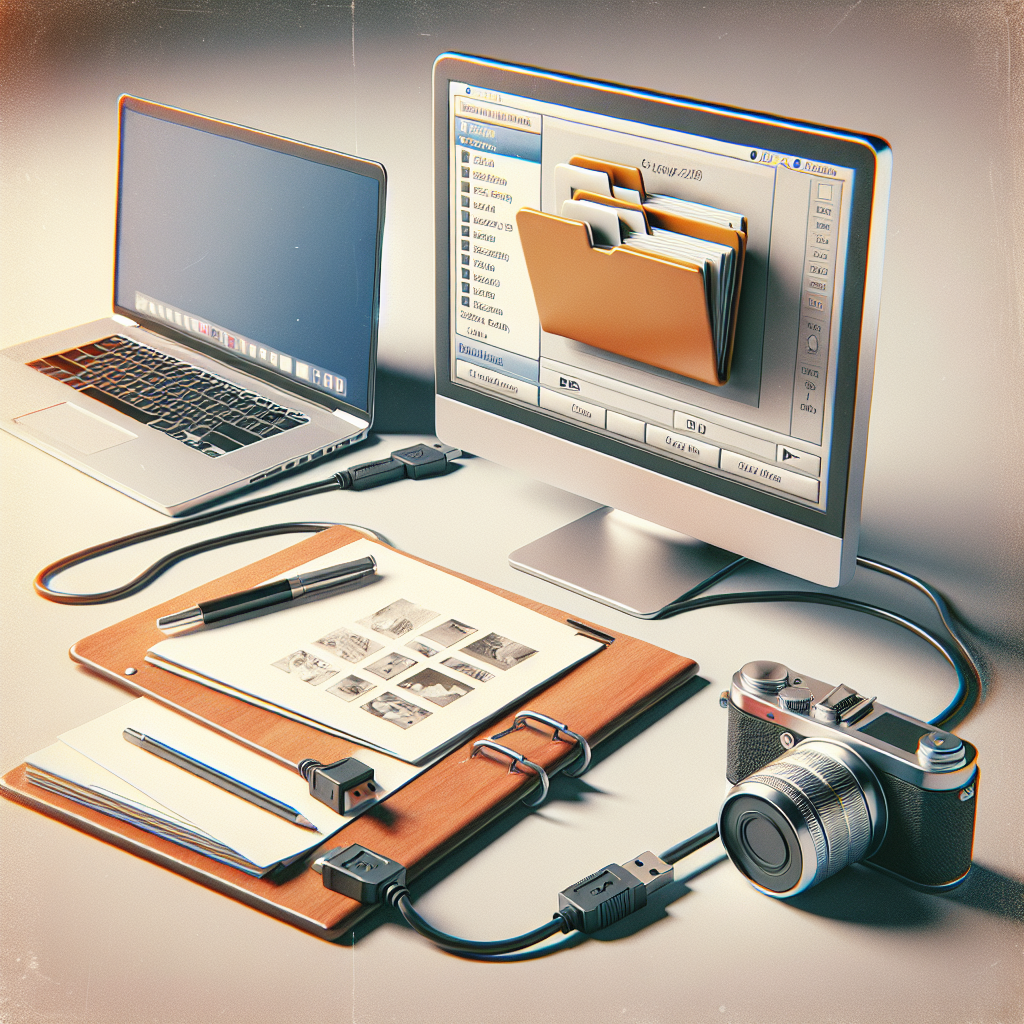
Step 1: Connecting the Camera
The first step is to connect your camera to your computer using a USB cable. Make sure your camera is turned off before connecting the cable.
Step 2: Power on the Camera
Once the camera is connected, turn it on. Your computer will automatically recognize the camera as a storage device and install any necessary drivers.
Step 3: Selecting the Photos
After your camera is connected and recognized, open the file explorer on your computer and navigate to the camera’s storage. You may find it under ‘This PC’ or ‘My Computer.’
Step 4: Transferring the Photos
In the camera’s storage folder, you will find all the photos saved on the camera’s memory card. Select the photos you want to upload and copy or drag them to a folder on your computer. You can create a new folder or choose an existing one.
Step 5: Safely Disconnect the Camera
After the photos are transferred successfully, it’s important to safely disconnect your camera from the computer. Right-click on the camera’s storage device icon in the file explorer and select ‘Eject’ or ‘Safely Remove Hardware.’
Conclusion:
Uploading photos from your camera to your computer is an essential process that allows you to organize, edit, and securely store your precious moments. By following the step-by-step guide provided in this article, you can easily transfer your photos hassle-free. Enjoy the convenience and flexibility of managing your photos on a larger screen!